Sheepskin with felted back
Posted on 2026-08-05 21:07 in blog • Written by Arno Peters
We did an experiment in July 2022 with felting a back to a recently shaved fleece. The wool came from a Ouessant sheep. Below is a photo series with a bit of explanation on how we created a sheepskin without having to kill a sheep.
Here’s what we started with:
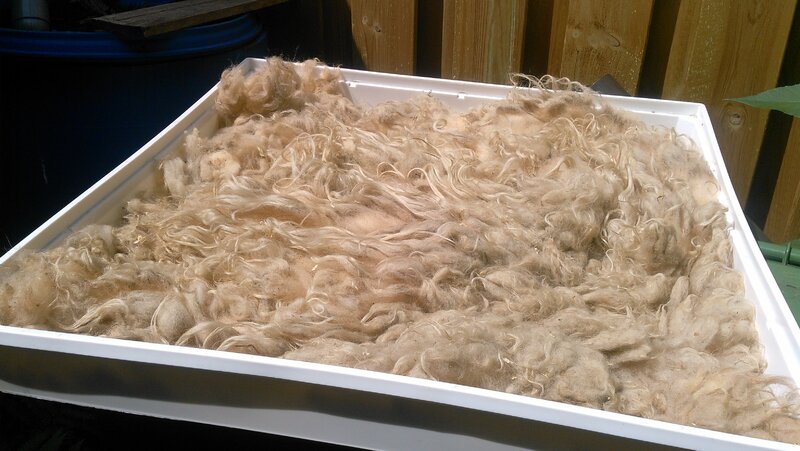
This is the front side of the fleece we started with. It was shaved from the sheep and then carefully rolled up to maintain the shape of the fleece.
We mostly followed the instructions layed out in this video: Leicester Longwool Sheep - Having a go at making a fleece rug by wet felting. Nicely explained and I can confirm the process works as described.
I saw this video Mongolian Felt Making for yurt (Ger) a while ago. It is essentially the same process, only on a larger scale. As an aside, I also found it interesting to see the whole process of constructing a yurt: Making a Yurt in Kyrgyzstan. The felting of the mats is shown from timestamp 12:35 and in this video is more mechanized than in the first video.
Preparation
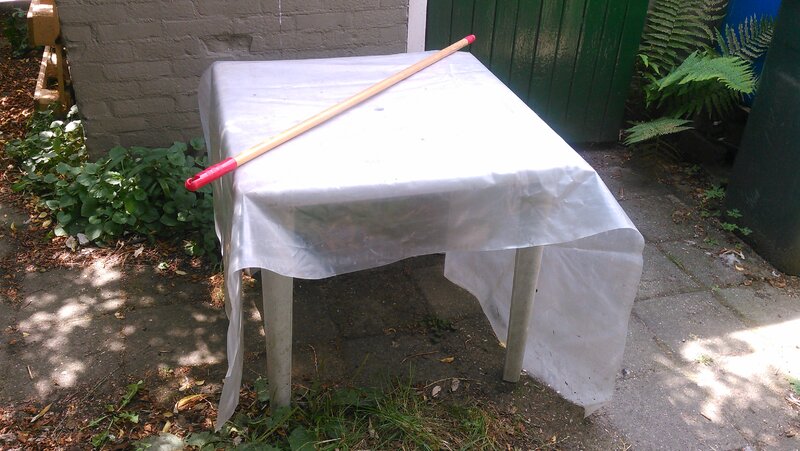
Setting the stage: table with plastic sheet and broomstick. The fleece goes on top of the plastic. The broomstick is for later use.
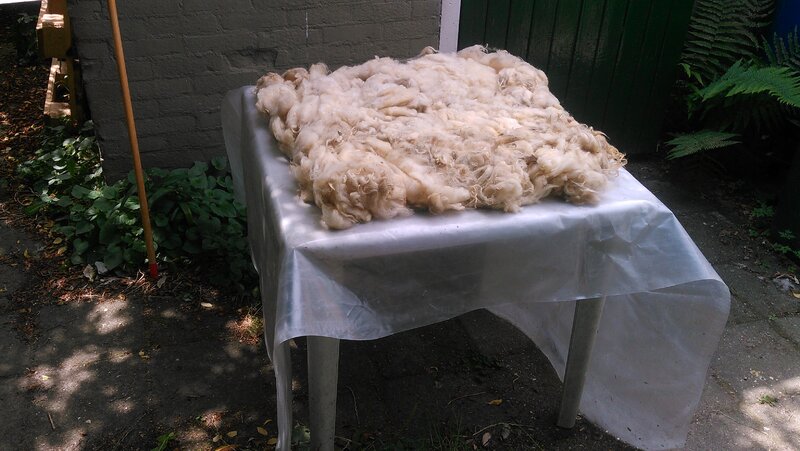
Put the fleece upside down on the plastic sheet on the table. In the process we’ll add three layers of “carded” wool to the backside. I put carded between quotes because we plucked pieces of the wool from another fleece and the pulling out aligns the fibers in the direction of pulling.
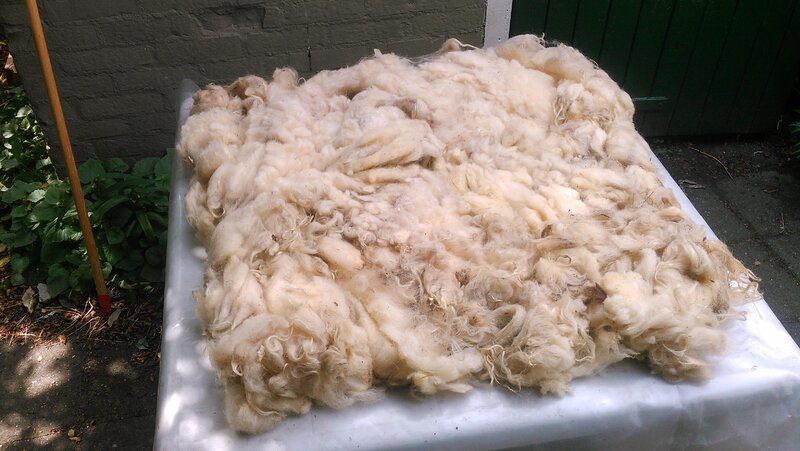
A close-up look at the fleece. Make sure the fleece is correctly oriented everywhere: the end of the hairs near the bottom and the shaved ends pointing up. Push the fleece together to close any gaps.
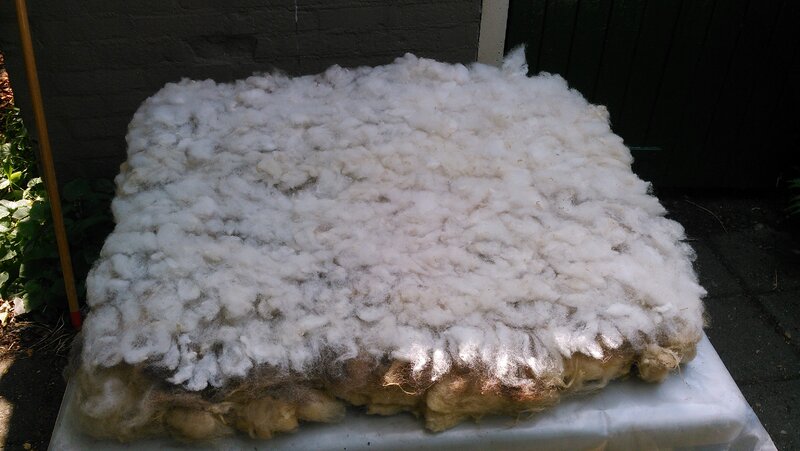
After adding two layers of “carded” wool. As mentioned before, the carding was pulling out the fibers from a different fleece and putting them on. As an alternative, you can also buy and use already carded fleece.
Note that the direction of the fibers needs to alternate between layers to get a strong felt. So if the first layer is going left-to-right, the next layer will need to go up-and-down and the final layer has to go left-to-right again.
Felting
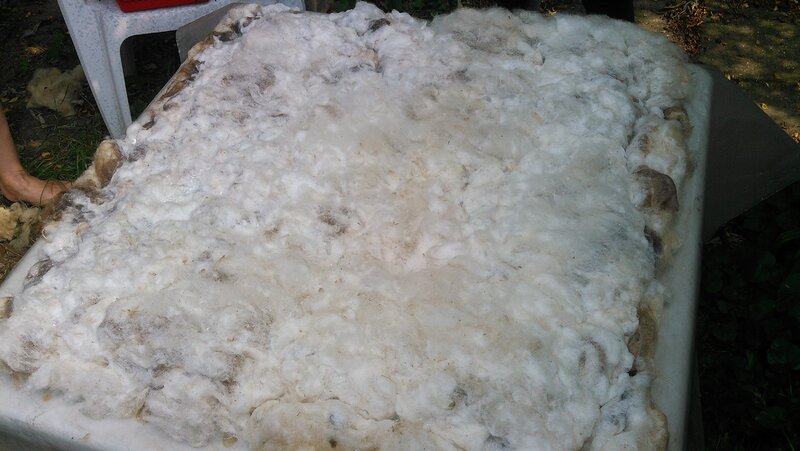
We then sprinkled hot soapy water over the whole thing. Everything needs to be soaking wet. We later learned that the layers will stay in place better if we put a sheer curtain over the top, before adding any water.
Here we added the sheer curtain only after applying the water. With the curtain in place, we started padding down the wool. This is to get the fibers into close contact. Work carefully because at this stage it is very easy to accidentally shift the layers.
After the wool was sufficiently padded down, we started rubbing over the curtain in a single direction. This starts the felting process. After a while we started rubbing in circles. At some point, I believe after about 15–20 minutes, the wool started coming through the curtain. This is a sign to start the next stage.
We then rolled the fleece with the plastic on the broomstick and tied the roll with string to keep it in place. We found the broomstick was too thin. In later experiments, we used a plastic drainpipe to wrap the fleece around; a pool noodle also works well.
The fleece shrinks in the direction of rolling. After about 100 back-and-forth, untie and unwrap, turn the fleece by 90 degrees, make it into a roll again and start rolling again for about 100. This whole process took about 20 minutes.
This is what it looked like after unrolling:
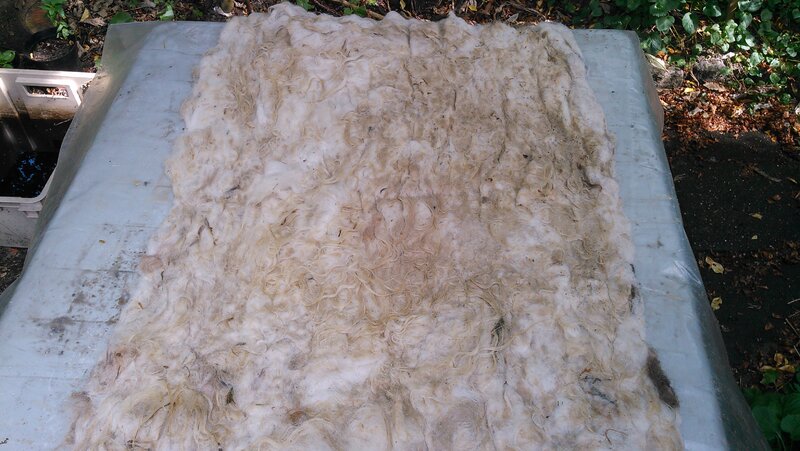
Front side after felting.
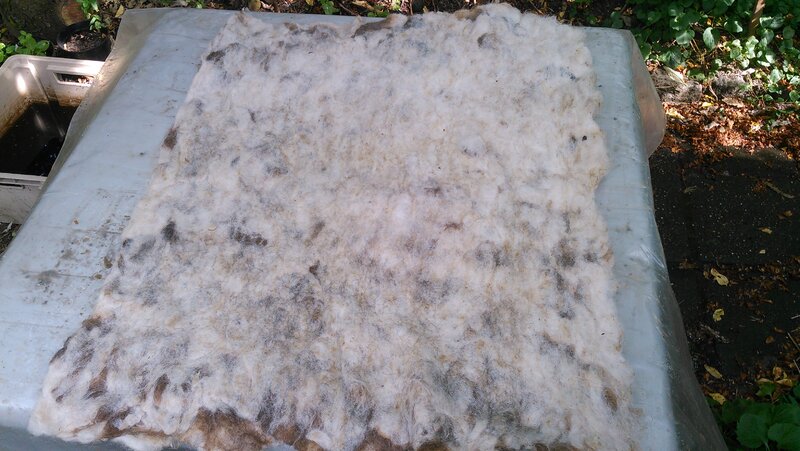
Back side after felting.
Drying and Fluffing up
We thoroughly rinsed the sheepskin in cold water and then let it dry on a rack.
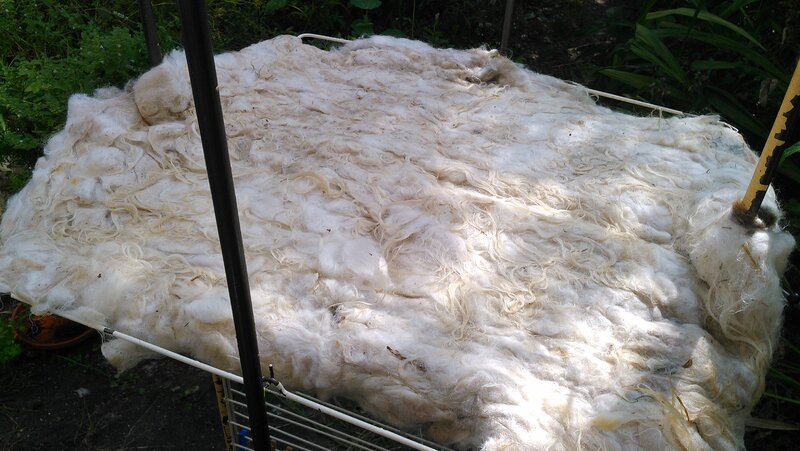
The hairs on the front will be clumping together. We pulled the hairs apart after drying to really fluff the fleece up.
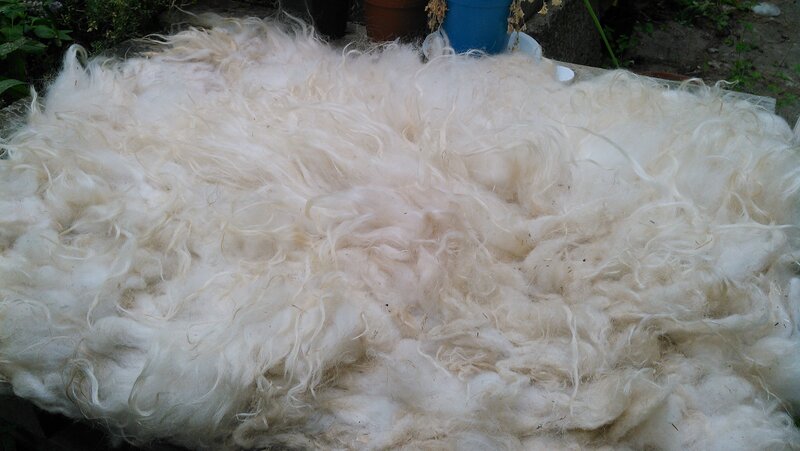
Front side after drying and fluffing up.
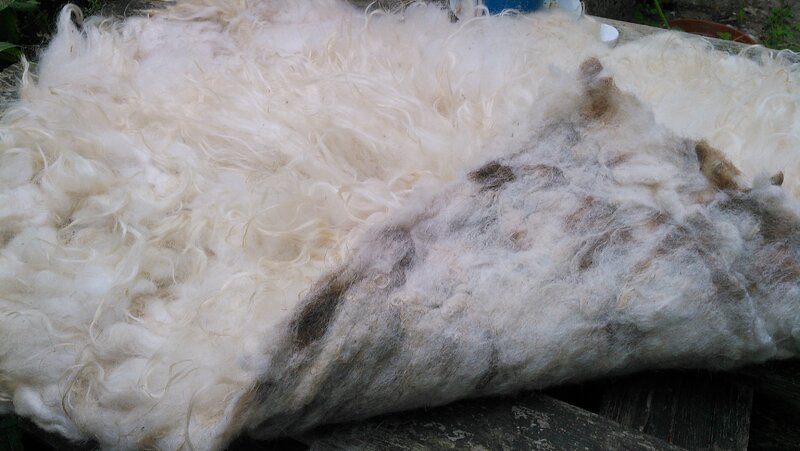
Showing part of the felted back.