Lessons learned baking bread
Posted on 2019-11-26 09:13 in blog • Written by Arno Peters
I have been making bread regularly since 2017. As I look through the photo’s I have made over the years I notice quite a shift in how I do things now versus how I did them when I started out.
Notable changes:
- I started using more water in my dough;
- I grease the tin with vegetable oil instead of butter;
- I use a bigger bowl (with a lid) to mix the dough in;
- I use either sourdough starter exclusively or use yeast mixed in from a small amount of commercial bread mix;
- I use almost 100% whole meal flour for all my breads;
- Using the mixer with dough hooks only for the initial mixing. The second mixing now only involves folding over the dough with a silicone spatula I already would use to get the dough out of the bowl;
- All utensils get cleaned directly after being used. Cleaning off dried up dough is very hard.
Basic recipe
I use the following recipe for all my breads (2019):
- 700g whole meal flower
- 200g sourdough starter
- 600g warm water
- salt to taste
- linseeds / sesame seeds / sunflower seeds to taste
If I use a commercial bread mix, I limit it to 250g and add whole meal flower to 700g total dry mass.
I mix thoroughly. Cover the bowl with a tight fitting plastic cover and then set the dough to rise. With the yeast from the commercial bread mix, the rise takes between 1 and 2 hours. Using only sourdough starter, the rise takes 6-8 hours.
When making a bread in a baking tin, I fold the dough over itself in the bowl with a spatula. I pour it in the greased tin and push it out with the underside of a table spoon. I then let the dough rise for a second time. This time uncovered in the tin until it makes a nice dome over the top of the tin.
When making a no knead bread, I put white flower on a counter top and pour the dough on top of it. I put more white flower on top of the dough. I stretch the left side and fold it over the rest. Then the right side: stretch and fold. Then top, then bottom and finally left and right once more. Then put the folded dough on a lightly dusted baking tray.
Depending on the height of the dough, baking time is 50-60min at gas oven setting 4-5. Place the bread in the middle of the oven.
Water content
When I started out my dough had trouble rising sufficiently. I have found a wetter dough and a consistently warm spot really help with the rise.
Bread samples
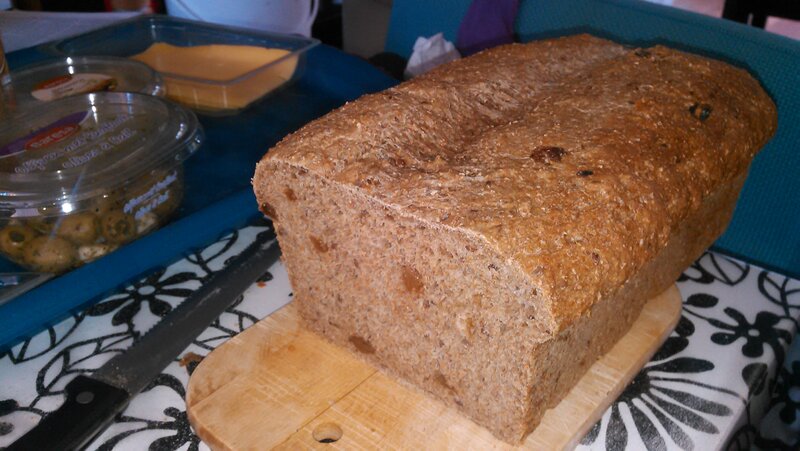
A bread with raisins mixed in from 2018.
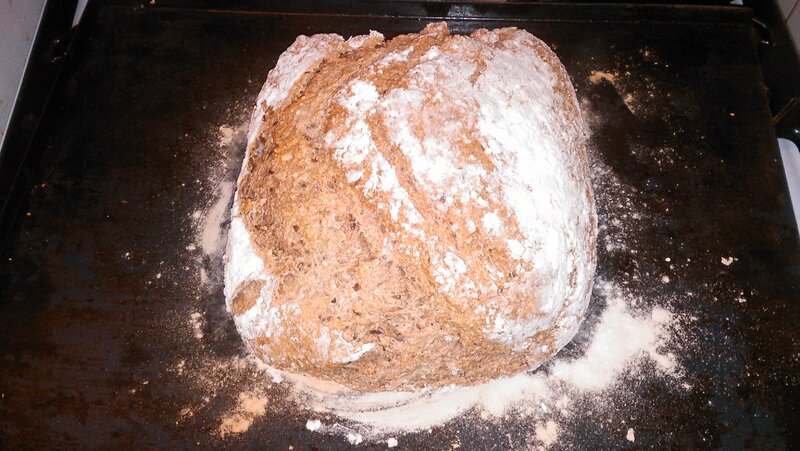
An experiment with no knead bread in 2019.
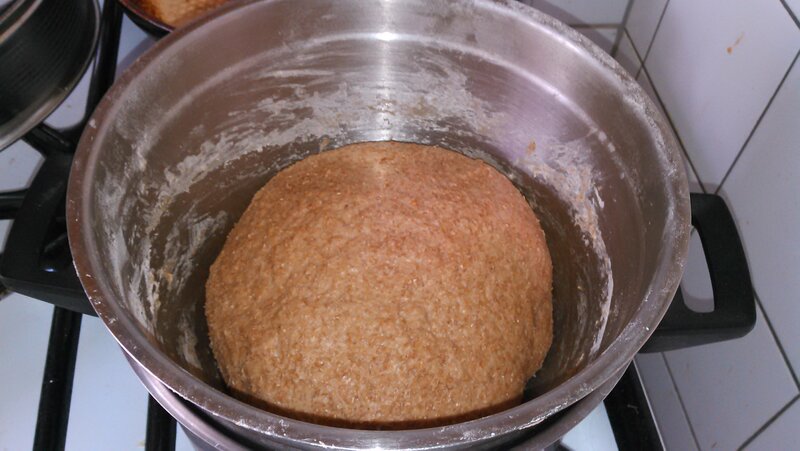
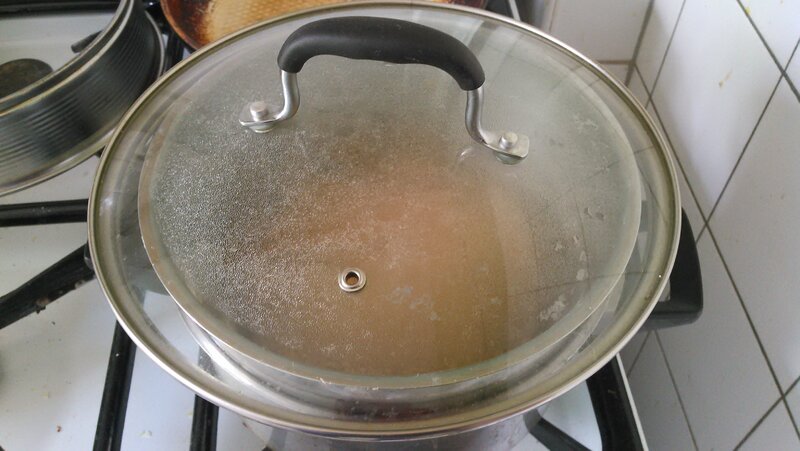
First rise
An experiment I did it in 2018: putting the bowl in a pan of warm water and covering with a lid.
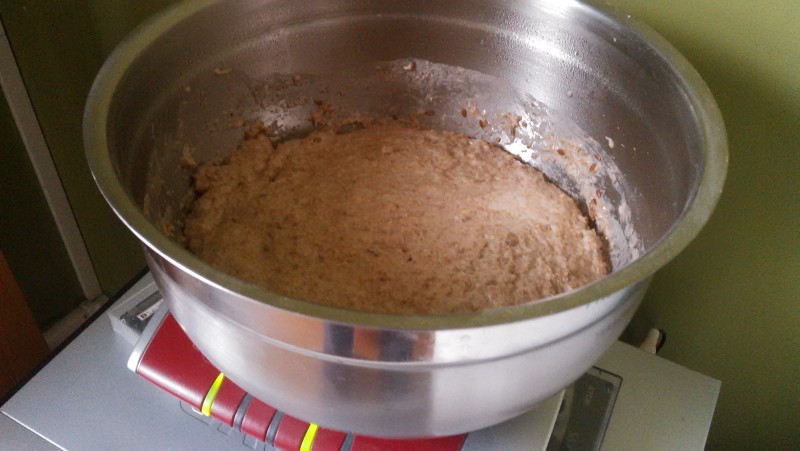
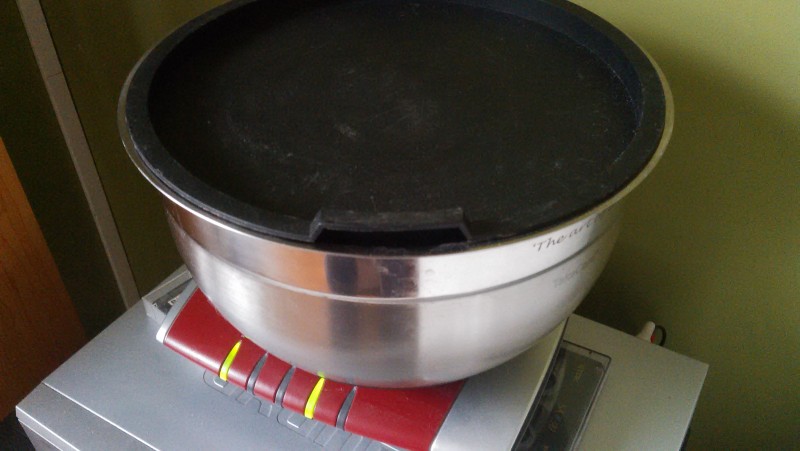
This is what I do in 2019. Notice the bigger bowl, the better fitting cover, the free heat from the router and the wetter dough.
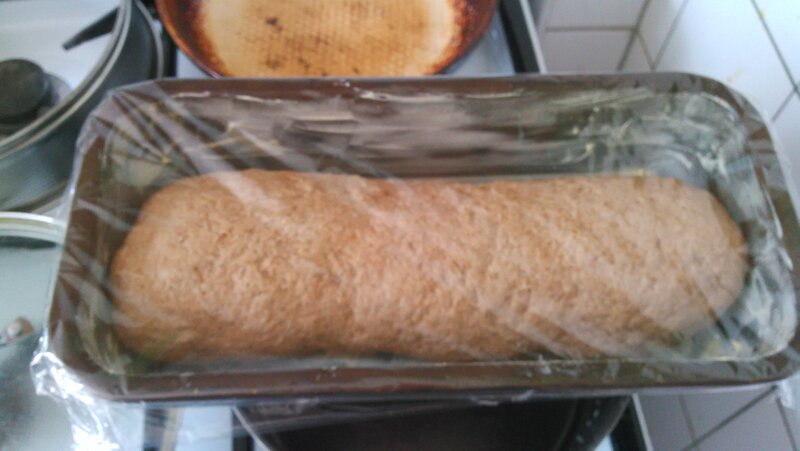
Second rise
On the left an image from 2018. I used butter to grease the tin and covered with a plastic foil.
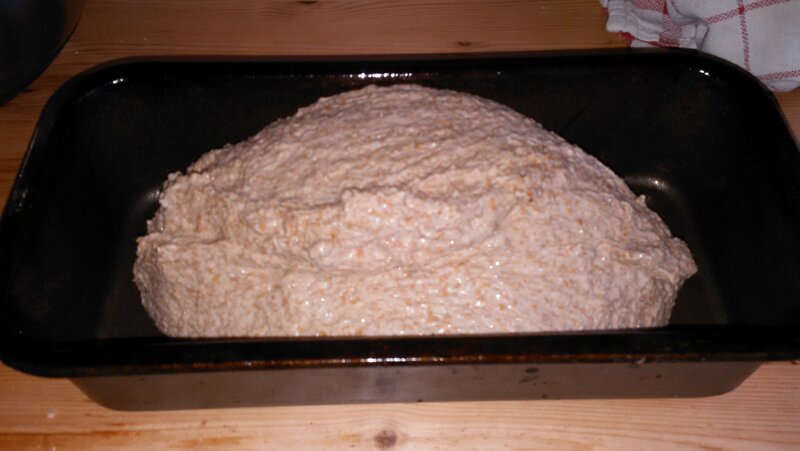
On the right an image from 2019. I use vegetable oil to grease the tin. I no longer cover the tin for the second rise. Note that the dough is not yet pushed into the sides of the tin.
Sour dough starter
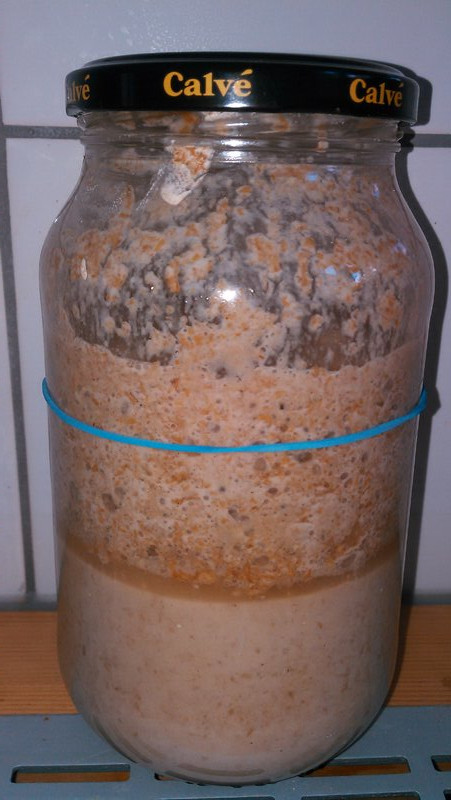
The image on the left is a sourdough starter directly after feeding. The image on the right is less than 3 hours later (in August, without refrigeration). Notice how much the starter has increased in volume in such a short time.
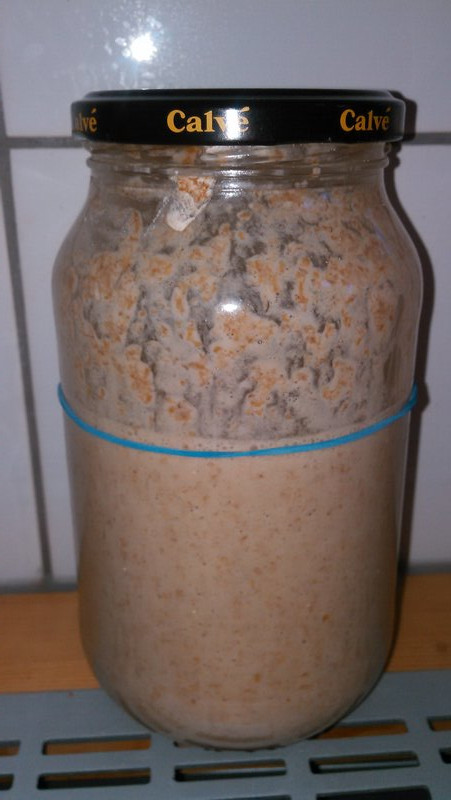
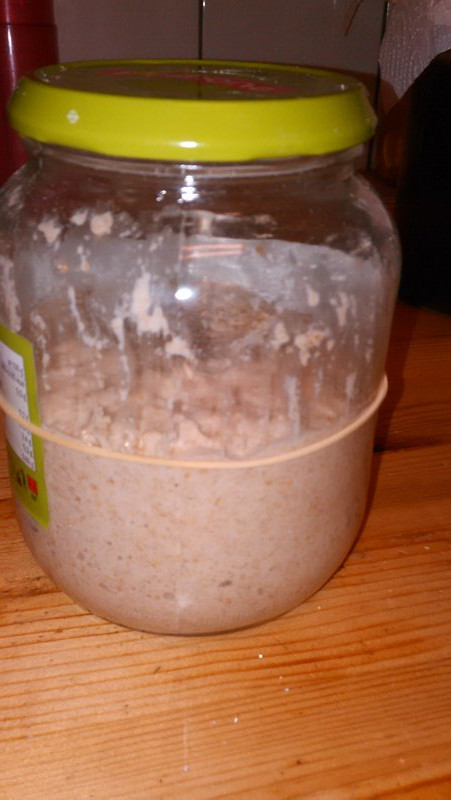
For a friend I created a second sourdough started. I took 200g from my starter and added the usual 100g of whole meal flower and 100g of water. The rubber band indicates maximum filling capacity to avoid the container overflowing as the started will double in size in a few days even when living in the refrigerator.