Felted slippers (finally!)
Posted on 2022-11-16 11:38 in blog • Written by Arno Peters
Two weeks ago I finally managed to complete the felted slippers we started almost four years ago at the Permacultuur Festival (2019) in Belgium. Even though they came out a bit rough, they are quite comfortable to wear. We found them to work exceptionally well in plastic clogs.
Yesterday I created another pair of slippers. This time I documented the process.
I used a pair of molds from our previous attempt. To make these: draw the outline of your foot on a piece of plastic. Add a border of 4 cm all around. Cut this larger outline out. Do the same for the other foot, or mirror the outline you already have.
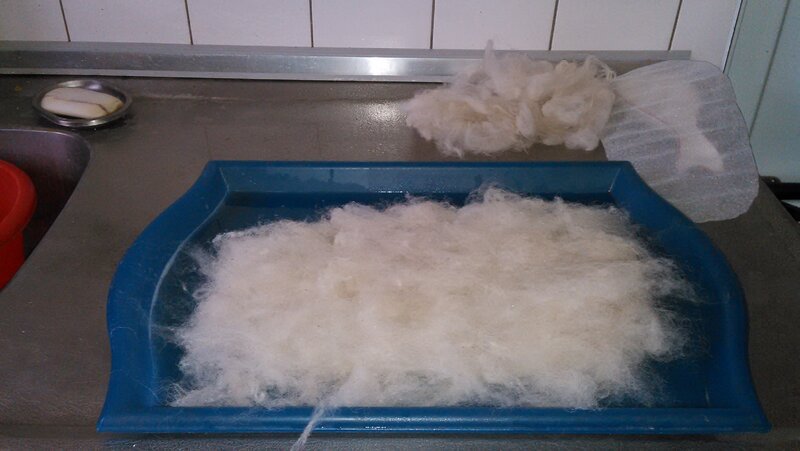
I measured out 50 grams of wool per slipper. I then divided this into two piles of 25 grams. One pile for the top, one pile for the bottom of the slipper. I used a plastic tray to keep the whole process a bit contained on the kitchen counter.
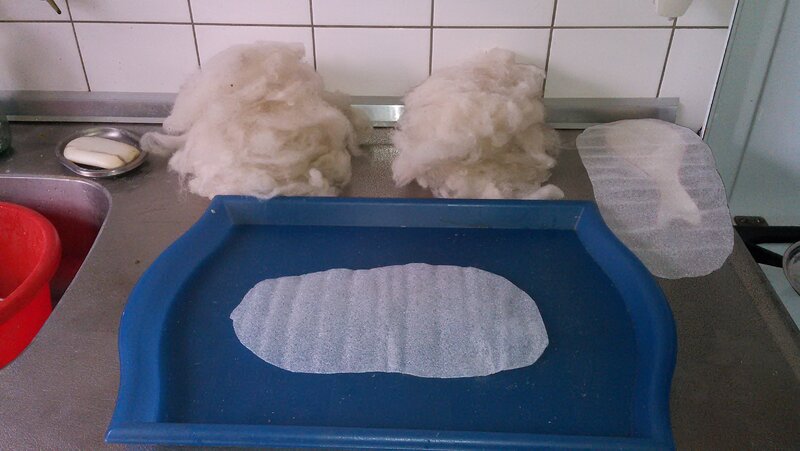
Piles of wool for top and bottom, both molds visible. We will be working on the mold in the plastic tray.
Next step is to add layers of wool. Take a piece of wool and hold down one end, the draw the other end out. This makes the wool fibers aligned in the same direction. Repeat the process laying down fibers like rooftiles.
I made the first layer horizontal, the second layer vertical and the third layer horizontal again. As you can see, I left a bit of overlap with the mold.
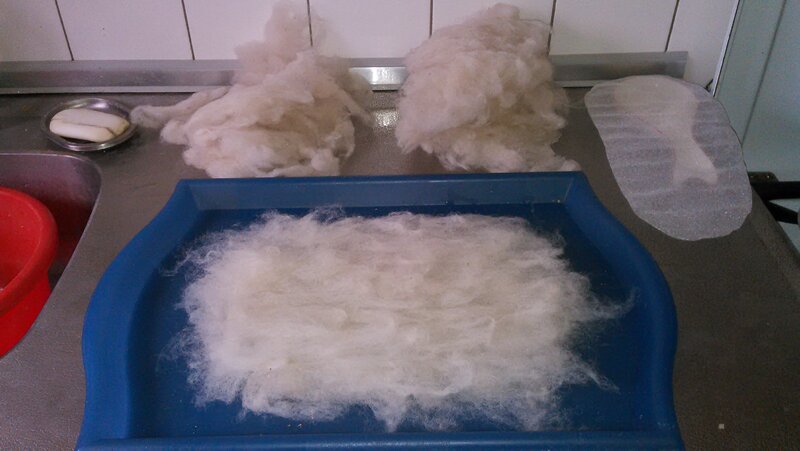
First 3 layers of wool on the mold. Note the overlap with the mold. Zoom into the picture to see the direction of the top layer.
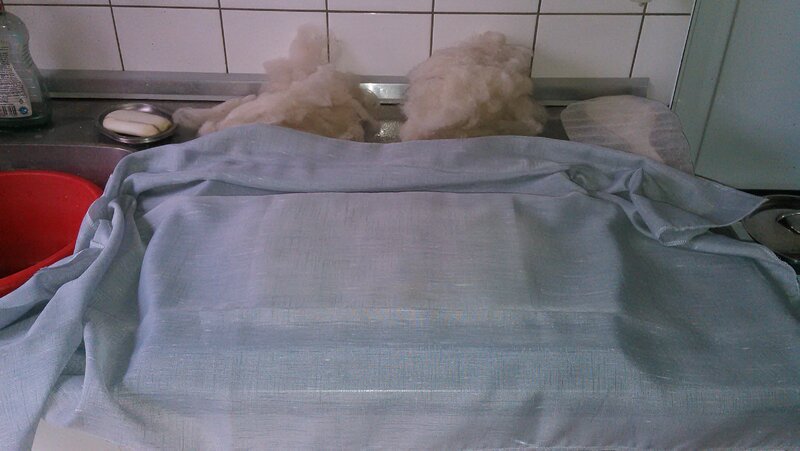
Adding a layer of sheer fabric on top.
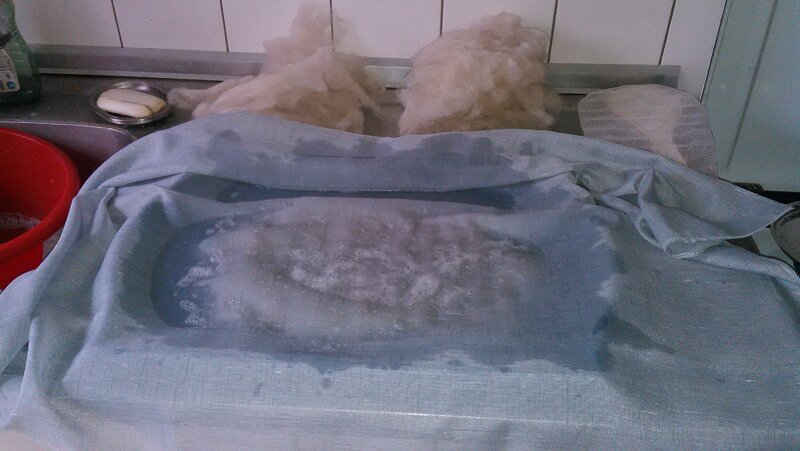
Pour boiling, soapy water on top.
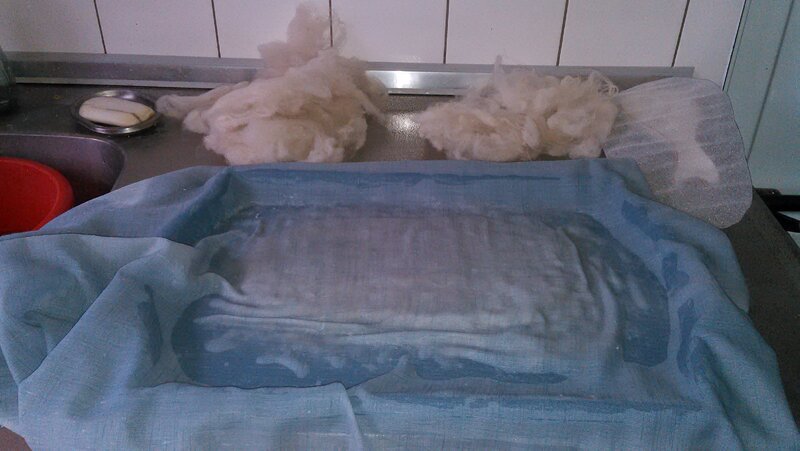
First pad the wool down. Then gently rub in one direction while keeping the sheer fabric in place. As the wool starts to felt, rub in circles. Rub until sufficiently felted. This took me about 20 minutes.
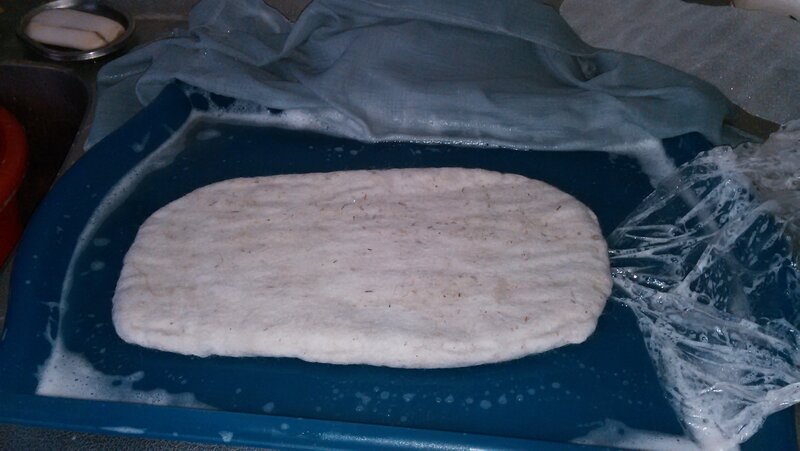
After having felted the first side, pull off the sheer fabric. Note that the wool can have felted to the fabric. If so, place your hand close to the edge and keep the wool down as you carefully pull on the sheer fabric. Move your hand over the exposed wool before pulling further.
Carefully fold the overlap under the mold and flip the mold over. Rub the overlap to the middle of the mold and make sure the edge follows the edge of the mold. Once done, it is time to add three layers of wool, again with a bit of overlap. Note that because the underground is wet, this will be a bit more difficult than in the beginning. Felt these together.
Preparing the second layer at the top.
One mold fully enclosed in 2 layers of 3 layers of wool on both sides. I rolled it in a plastic bag to speed the felting of the whole thing, alternating the directions in which I rolled the slipper.
From the timestamps on the photos, this took from 14:20 to 15:50, so about 1,5 hours for one mold. This corresponds to about 4x 20 minutes for the layers and then about 10 minutes rolling in a plastic bag.
At this point I took a break, had dinner and resumed after a bit of rest. I don’t have a starting time, but I guesstimate it was around 17:50.
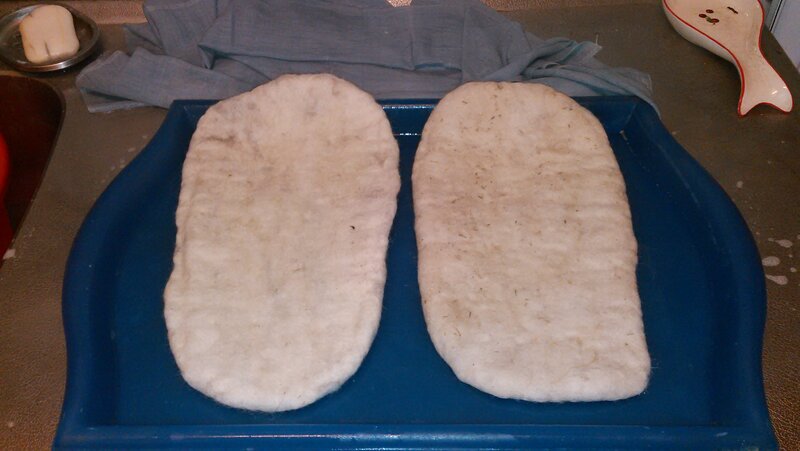
At around 19:20 I had both molds enclosed. The left one being the most recent one.

With a pair of cissors, I cut a slit in each slipper to create a hole for the foot to go through.
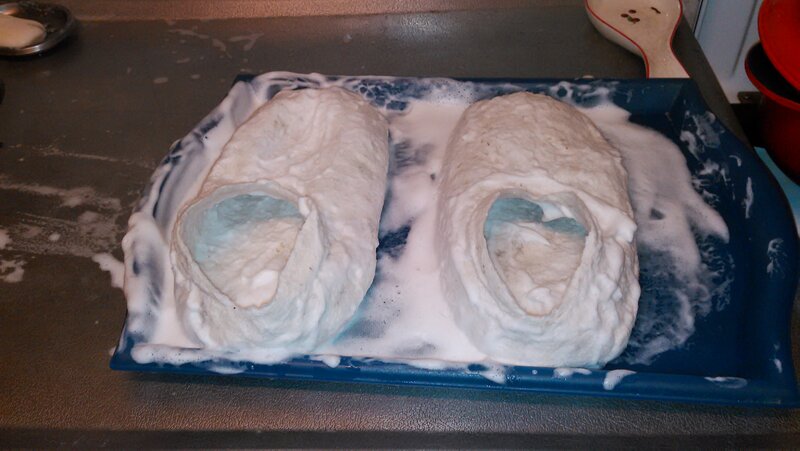
Working both slippers with soap and lots of hard rubbing and rolling.
The slippers will shrink while rubbing. They shrink in the direction you’re rubbing. I was done at 20:00. At this point, I was satisfied with the shape and the size of the slippers. I rinsed both slippers with water and wrung them out in a towel. Then I set them out to dry.
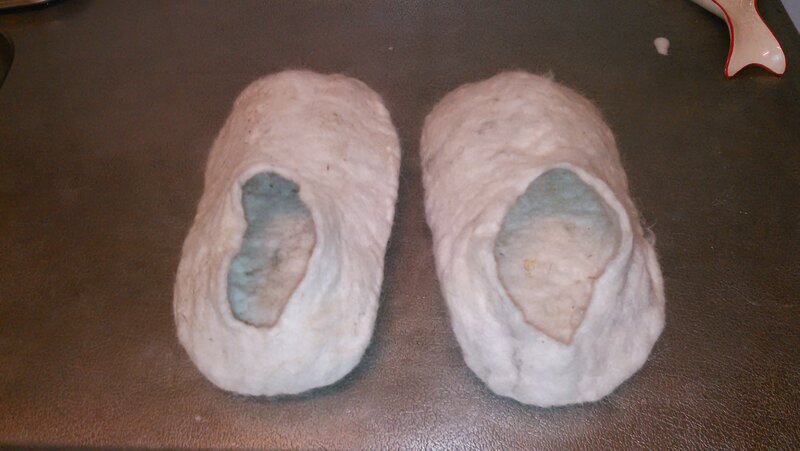
The end result (for now)
The final fitting will be done at a later point in time. This will involve soaping both slippers up again and then rubbing them on the feet they are intended for.
The molding of the slippers took about 40 minutes. In total I spent 3 hours and 40 minutes with another 20 minutes left for the final molding and fitting. All in all I estimate 2 hours per slipper for a grand total of 4 hours for both.